
#567 Random Code Practice
A simple Morse code practice generator that prints the character and sounds the dit-dahs to a speaker. Based on a project by Glen Popiel KW5GP.

Here’s a quick demo..
Notes
Glen Popiel’s Arduino for Ham Radio is a great little collection of ham radio-adjacent projects that not only provides some good project inspiration but also presents them in a way that is easy to follow no matter one’s level of Arduino experience.
This project is an adaptation/enhancement of a simple Morse code practice generator:
- it selects a random character
- displays the character on an LCD
- and sounds the Morse code to a piezo speaker
- the speed can be adjusted with a variable resistor
I’ve extended and revised the code to add some new features:
- a switch to select between all character / alpha only / numbers only
- display the actual dit-dah Morse representation on the screen as well as the character being sounded
Construction
Designed with Fritzing: see RandomCodePractice.fzz.
A SPDT Centre Off switch is used as a tri-state toggle for the character select:
- ON: pulled high (alpha only)
- CENTRE: VCC/2 voltage divider (all characters)
- OFF: pulled low (numbers only)


First testing the circuit on a breadboard:

Code & Libraries
Main sketch: RandomCodePractice.ino
Libraries:
- Arduino Wire library
- LiquidCrystal_I2C - LCD over I²C
- Morse.h / Morse.cpp
- Morse encoding by Erik Linder SM0RVV and Mark VandeWettering K6HX.
- I cannot find a link to the original source (Version 0.2), so it is included in the project folder.
- Includes Glen Popiel KW5GP’s fixes for Morse encoding
- extended by me to allow dynamic speed adjustment
Putting it in a Box
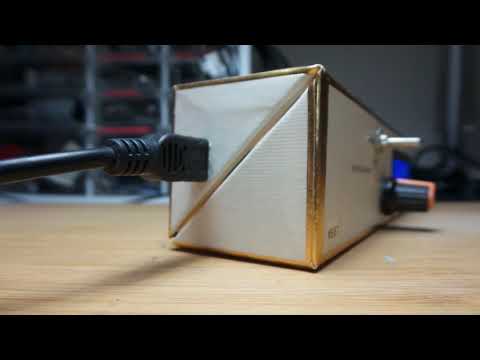
In the first version of the build, I switched the Uno for an Arduino Nano and mounted it all in a suitably sized chocolate box. This version didn’t have the output jack.

Adding an Output Jack
I subsequently added an output jack using a 3.5mm PCB-mount Stereo Socket. For more details on these connectors, see LEAP#309 Audio Connectors.
Designed with Fritzing: see RandomCodePractice_v2.fzz.


With the jack installed:

Connecting an external speaker bypasses the internal buzzer:

Credits and References
- LEAP#309 Audio Connectors
- Arduino for Ham Radio
- Morse code - wikipedia
- fun with morse code - presentation on learning CW by Anthony Luscre K8ZT